Owl costumes are easy to makes. A long sleeve t-shirt, various colors of felt cut into U or V shapes, and fabric glue. Then glue the felt in overlapping rows until you obtain the desired mix of colors. I lack the skill to knit and only had 2 weeks before Halloween to complete this, so I bought the hat on amazon.com for less than $7. The costume came out awesome. Put together with pants and shoes that you already own. Hooray for homemade costumes that are comfortable, adorable, and less than $20.
Give It a Go Mama
Sunday, November 1, 2015
Sunday, February 1, 2015
Pendant lights in the closet: Round 2
Here is my son's closet after the a wall of metal shelves were removed, holes were filled, and the entire thing got 2 coats of Olympic Crumb Cookie paint in Eggshell. The hubs installed this Ikea pendant light.
We added some hooks for costumes and artwork. The pictures could be better. I'm learning.
We added some hooks for costumes and artwork. The pictures could be better. I'm learning.
Pendant lights in the closet
After years of being scraped by hangers and coats and stinking of shoes, closets need love too.
So I decided our closets would get holes patched, fresh coats of paint and nice lighting.
Nothing is more affordable, adorable, and child inspired than Ikea's pendants.
Here is the before picture, with my husband looking like he has the flu… when he doesn't. Anyway, ignore bright eyes and check out the bulb just sticking out of the ceiling.
Now feast your eyes on the after.

Only $20 for this light and a couple youtube videos on wiring.
The closet is so inviting that the kids like to play in it.
So I decided our closets would get holes patched, fresh coats of paint and nice lighting.
Nothing is more affordable, adorable, and child inspired than Ikea's pendants.
Here is the before picture, with my husband looking like he has the flu… when he doesn't. Anyway, ignore bright eyes and check out the bulb just sticking out of the ceiling.
Now feast your eyes on the after.

Only $20 for this light and a couple youtube videos on wiring.
The closet is so inviting that the kids like to play in it.
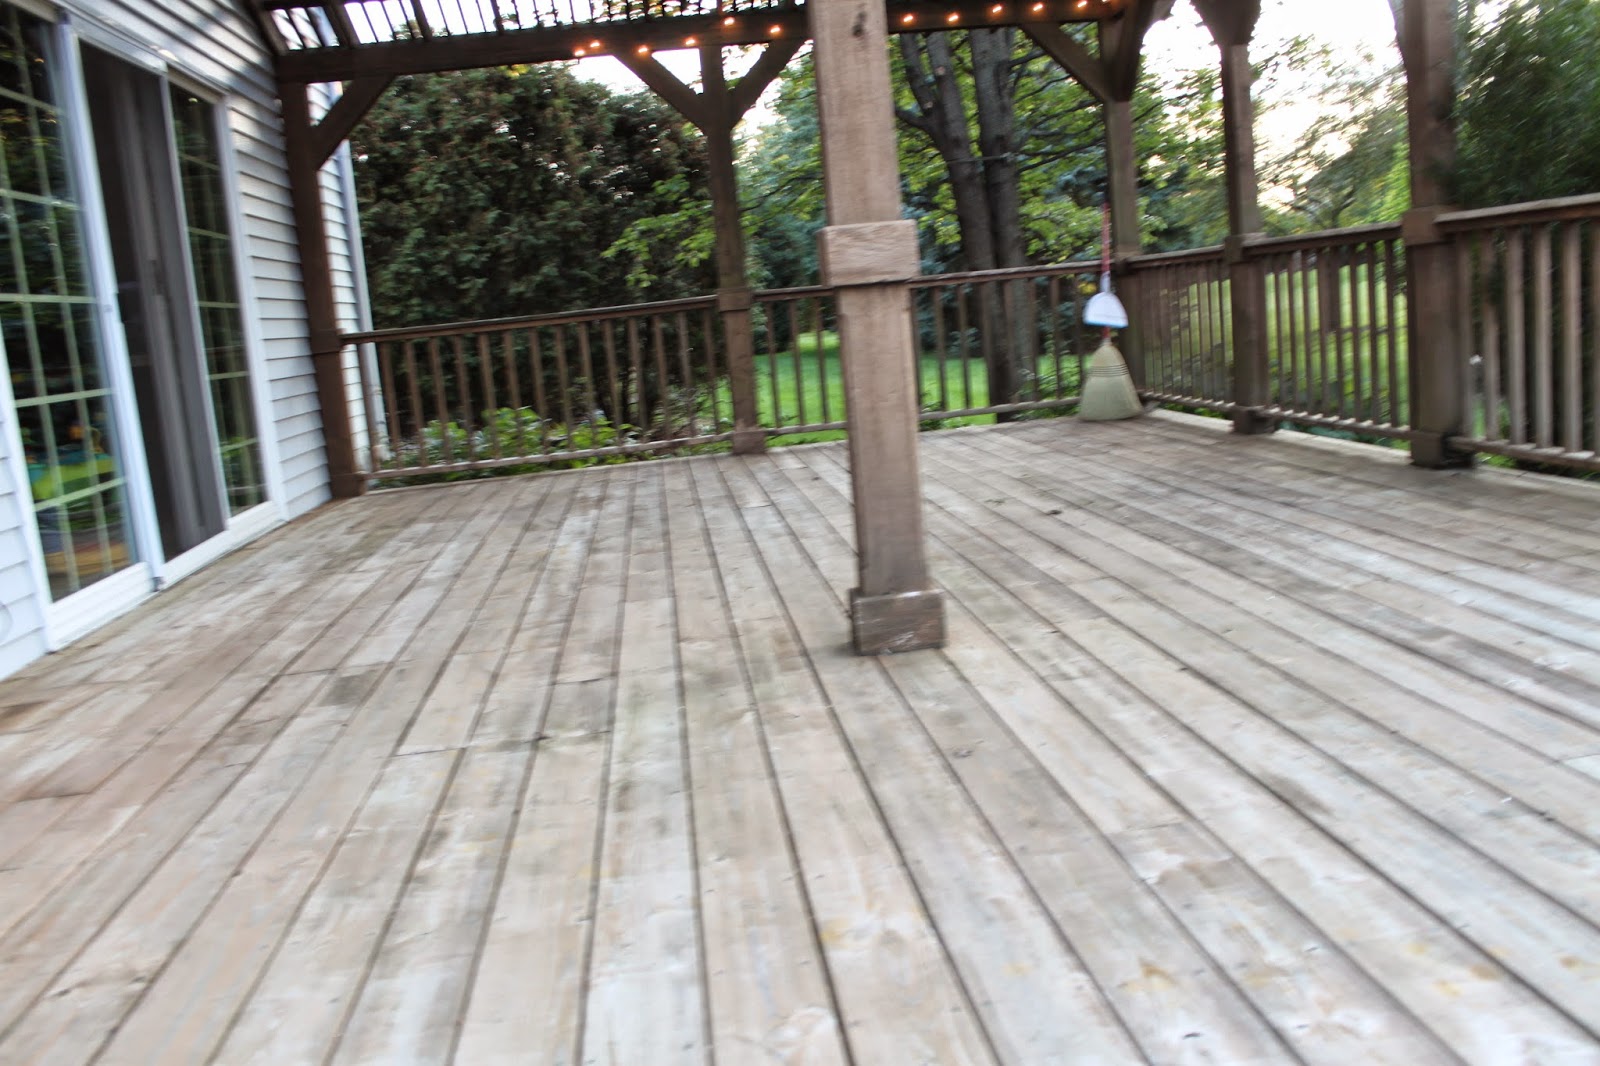
Old Decking getting a facelift
I was already so high from semi-transparent stain fumes, that I decided to let the good times roll and paint the backyard decking.
It was a BEAST of a job.
We pressure washed, sanded, wiped down, and painted with 2 coats.
Here are the post pressure wash but before sanding photos:
During photo (comic relief brought to you by my son). The product is Rust-Oleum Restore 4x in Autumn Brown.
After (with guest appearance from my daughter).
It's beautiful (tear). It took a long time to complete. We hope to finish the top half next summer. Let's see how it holds up to a brutal winter. Stay tuned.
Saturday, October 18, 2014
Bumble Bee Costume For a Little Boy
My 3 year old wants to be a bumble bee for halloween. He doesn't want to wear tights and a tutu. He doesn't want glittery wings. He must have a stinger. He wants a dude bumble bee costume. I want to get it done ASAP and share it with you.
How I did it:
The bee striped shirt- 4T sized yellow shirt painted with black fabric paint on front and back. I used 3M blue painter's tape for the stripes.
The Stinger- A party hat with a stretchy string. Wrapped in felt. Hot Glued on. I glue a strip of yellow felt to make it stand out more.
The antenna- old headband wrapped in black felt. Pipe cleaners for the antenna part
The wings- Poster board cut into a wing shape, then pinned onto shirt.
Friday, September 12, 2014
Semi-transparent stain on front porch
Our home has a beautiful front porch that was in much need of restraining after the harsh Midwest winter. So washed it, hand sanded it, tack clothed it, then staining it with 2 coats. I did give several weeks and fine sanding before coats.
Here is the before:
And here is the after. I used Olympic Semi-Transparent Cedar Natural tone. I did not sand down to complete bare wood because I wanted a more rustic look. I find that imperfect wood looks better after wear and tear then perfect wood. This is half the deck, and 1 galloon was enough.
Subscribe to:
Comments (Atom)


